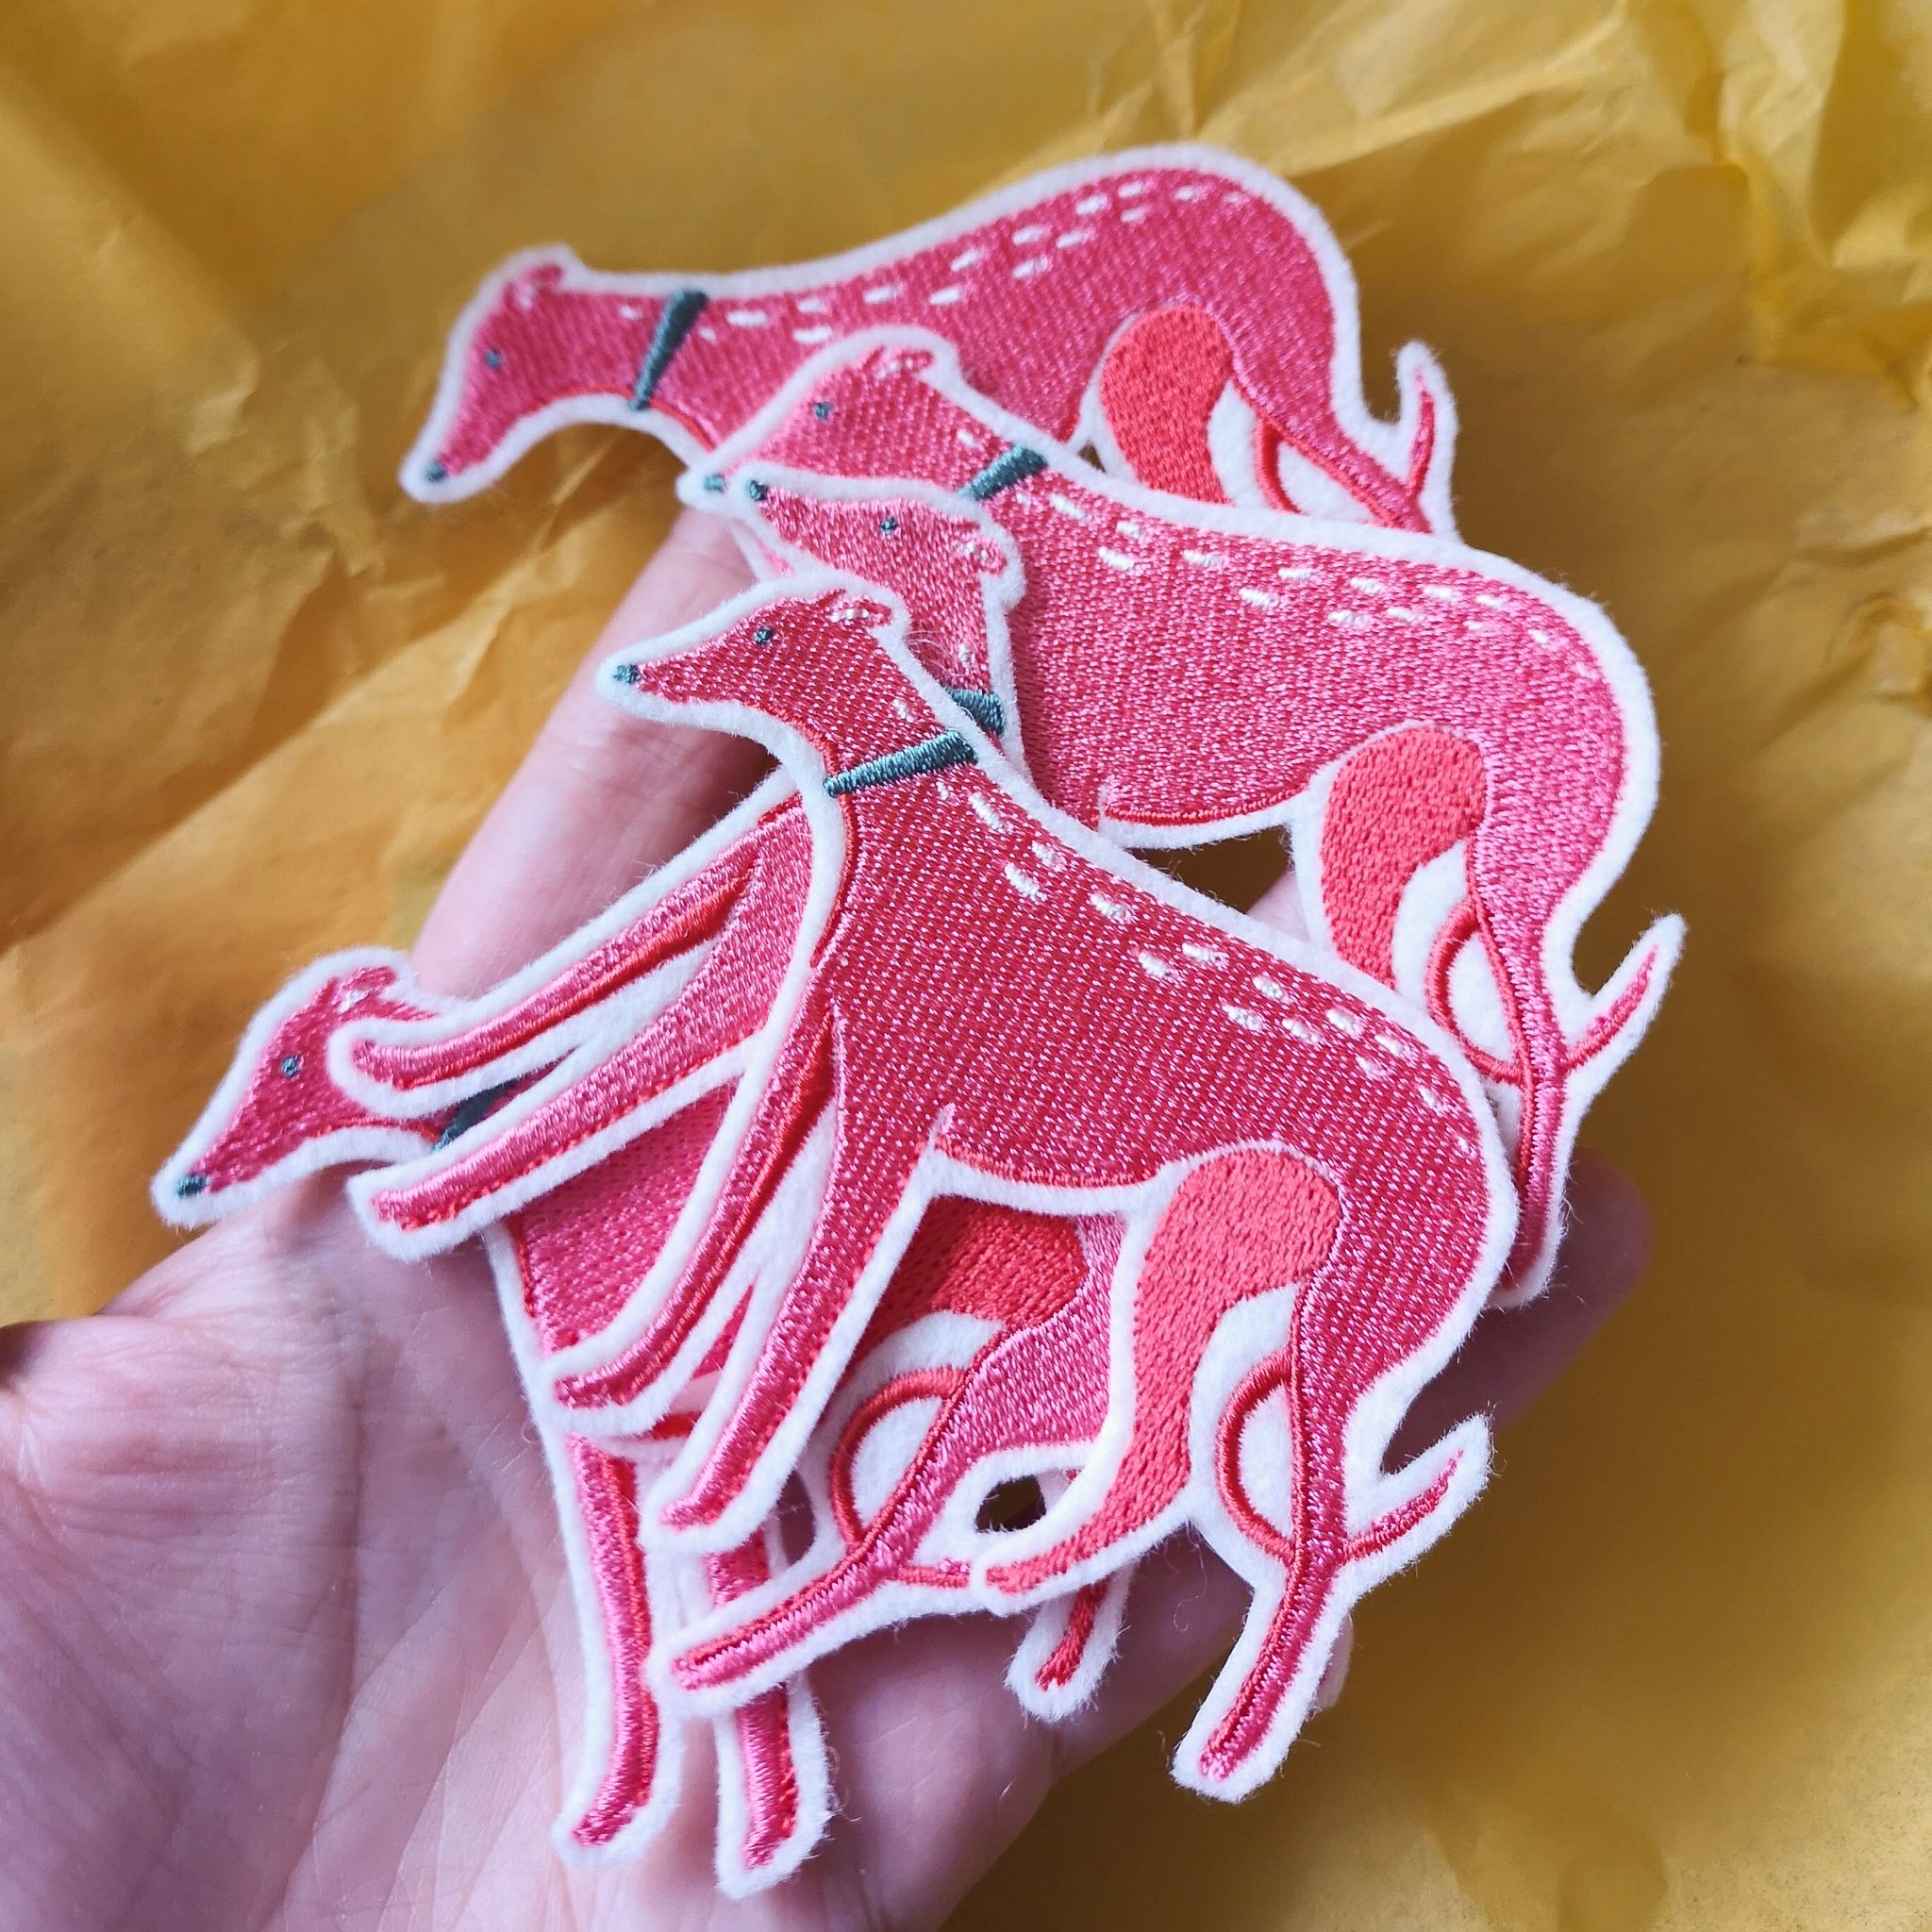
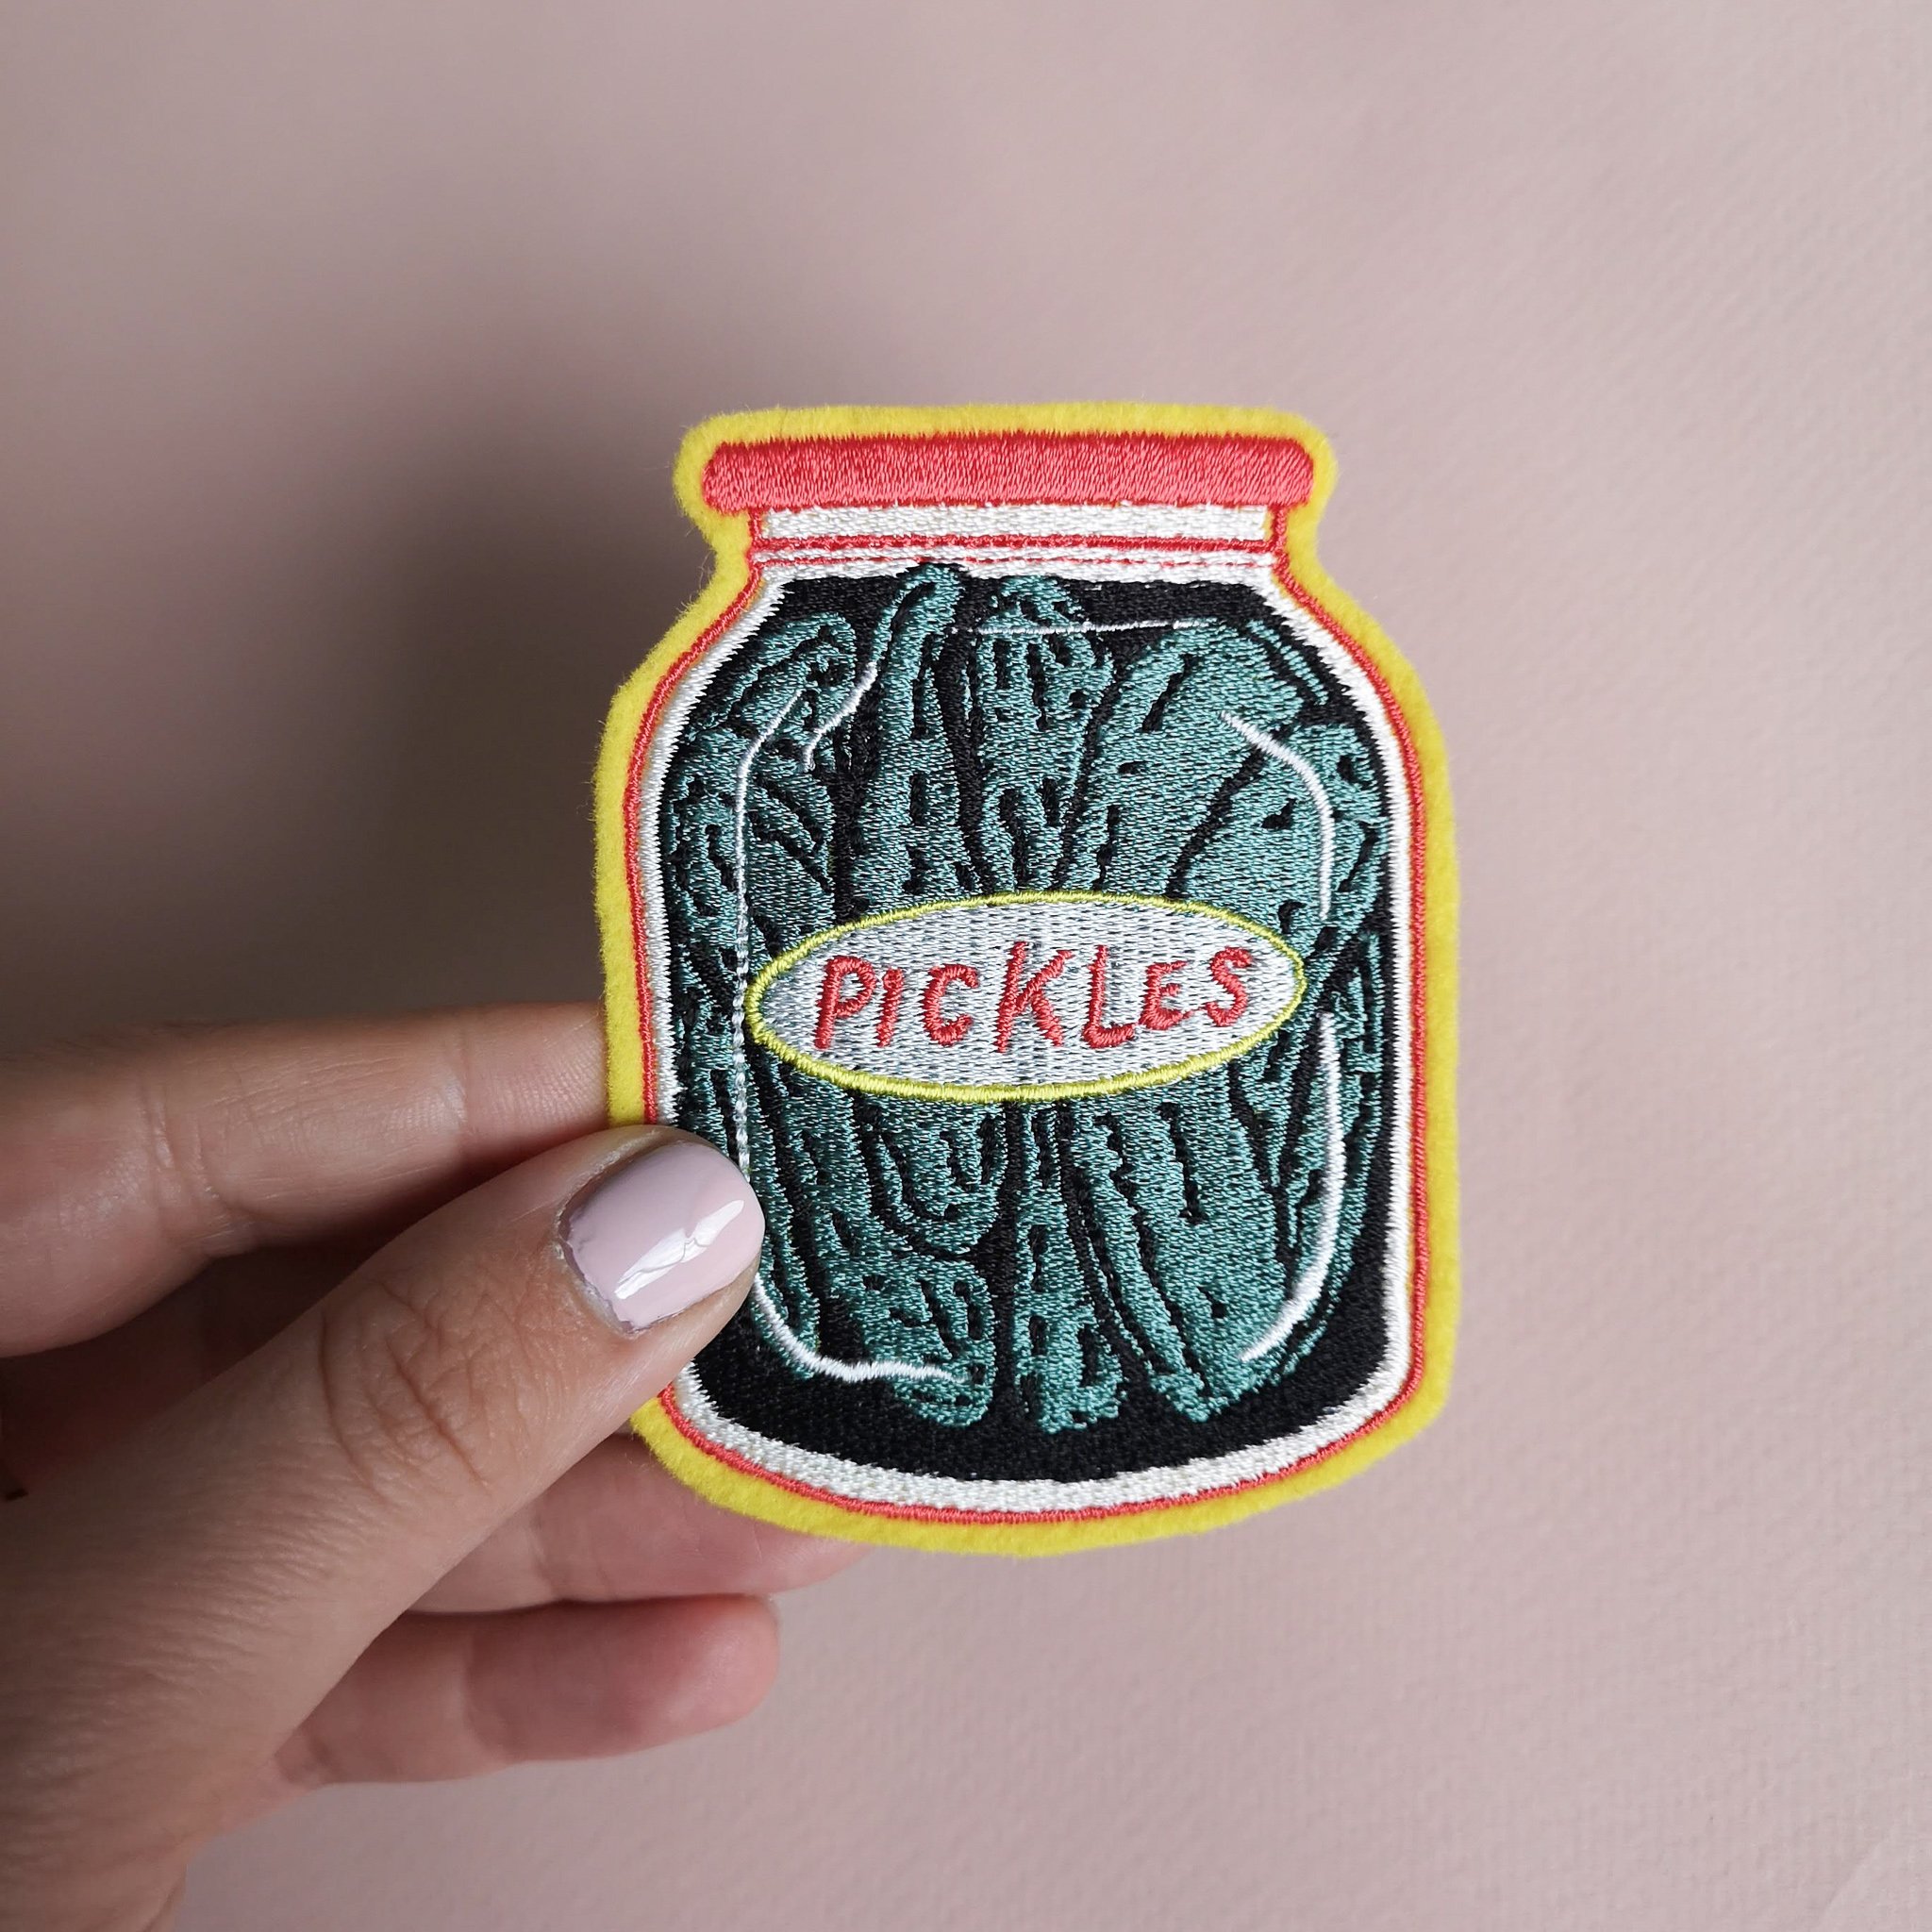
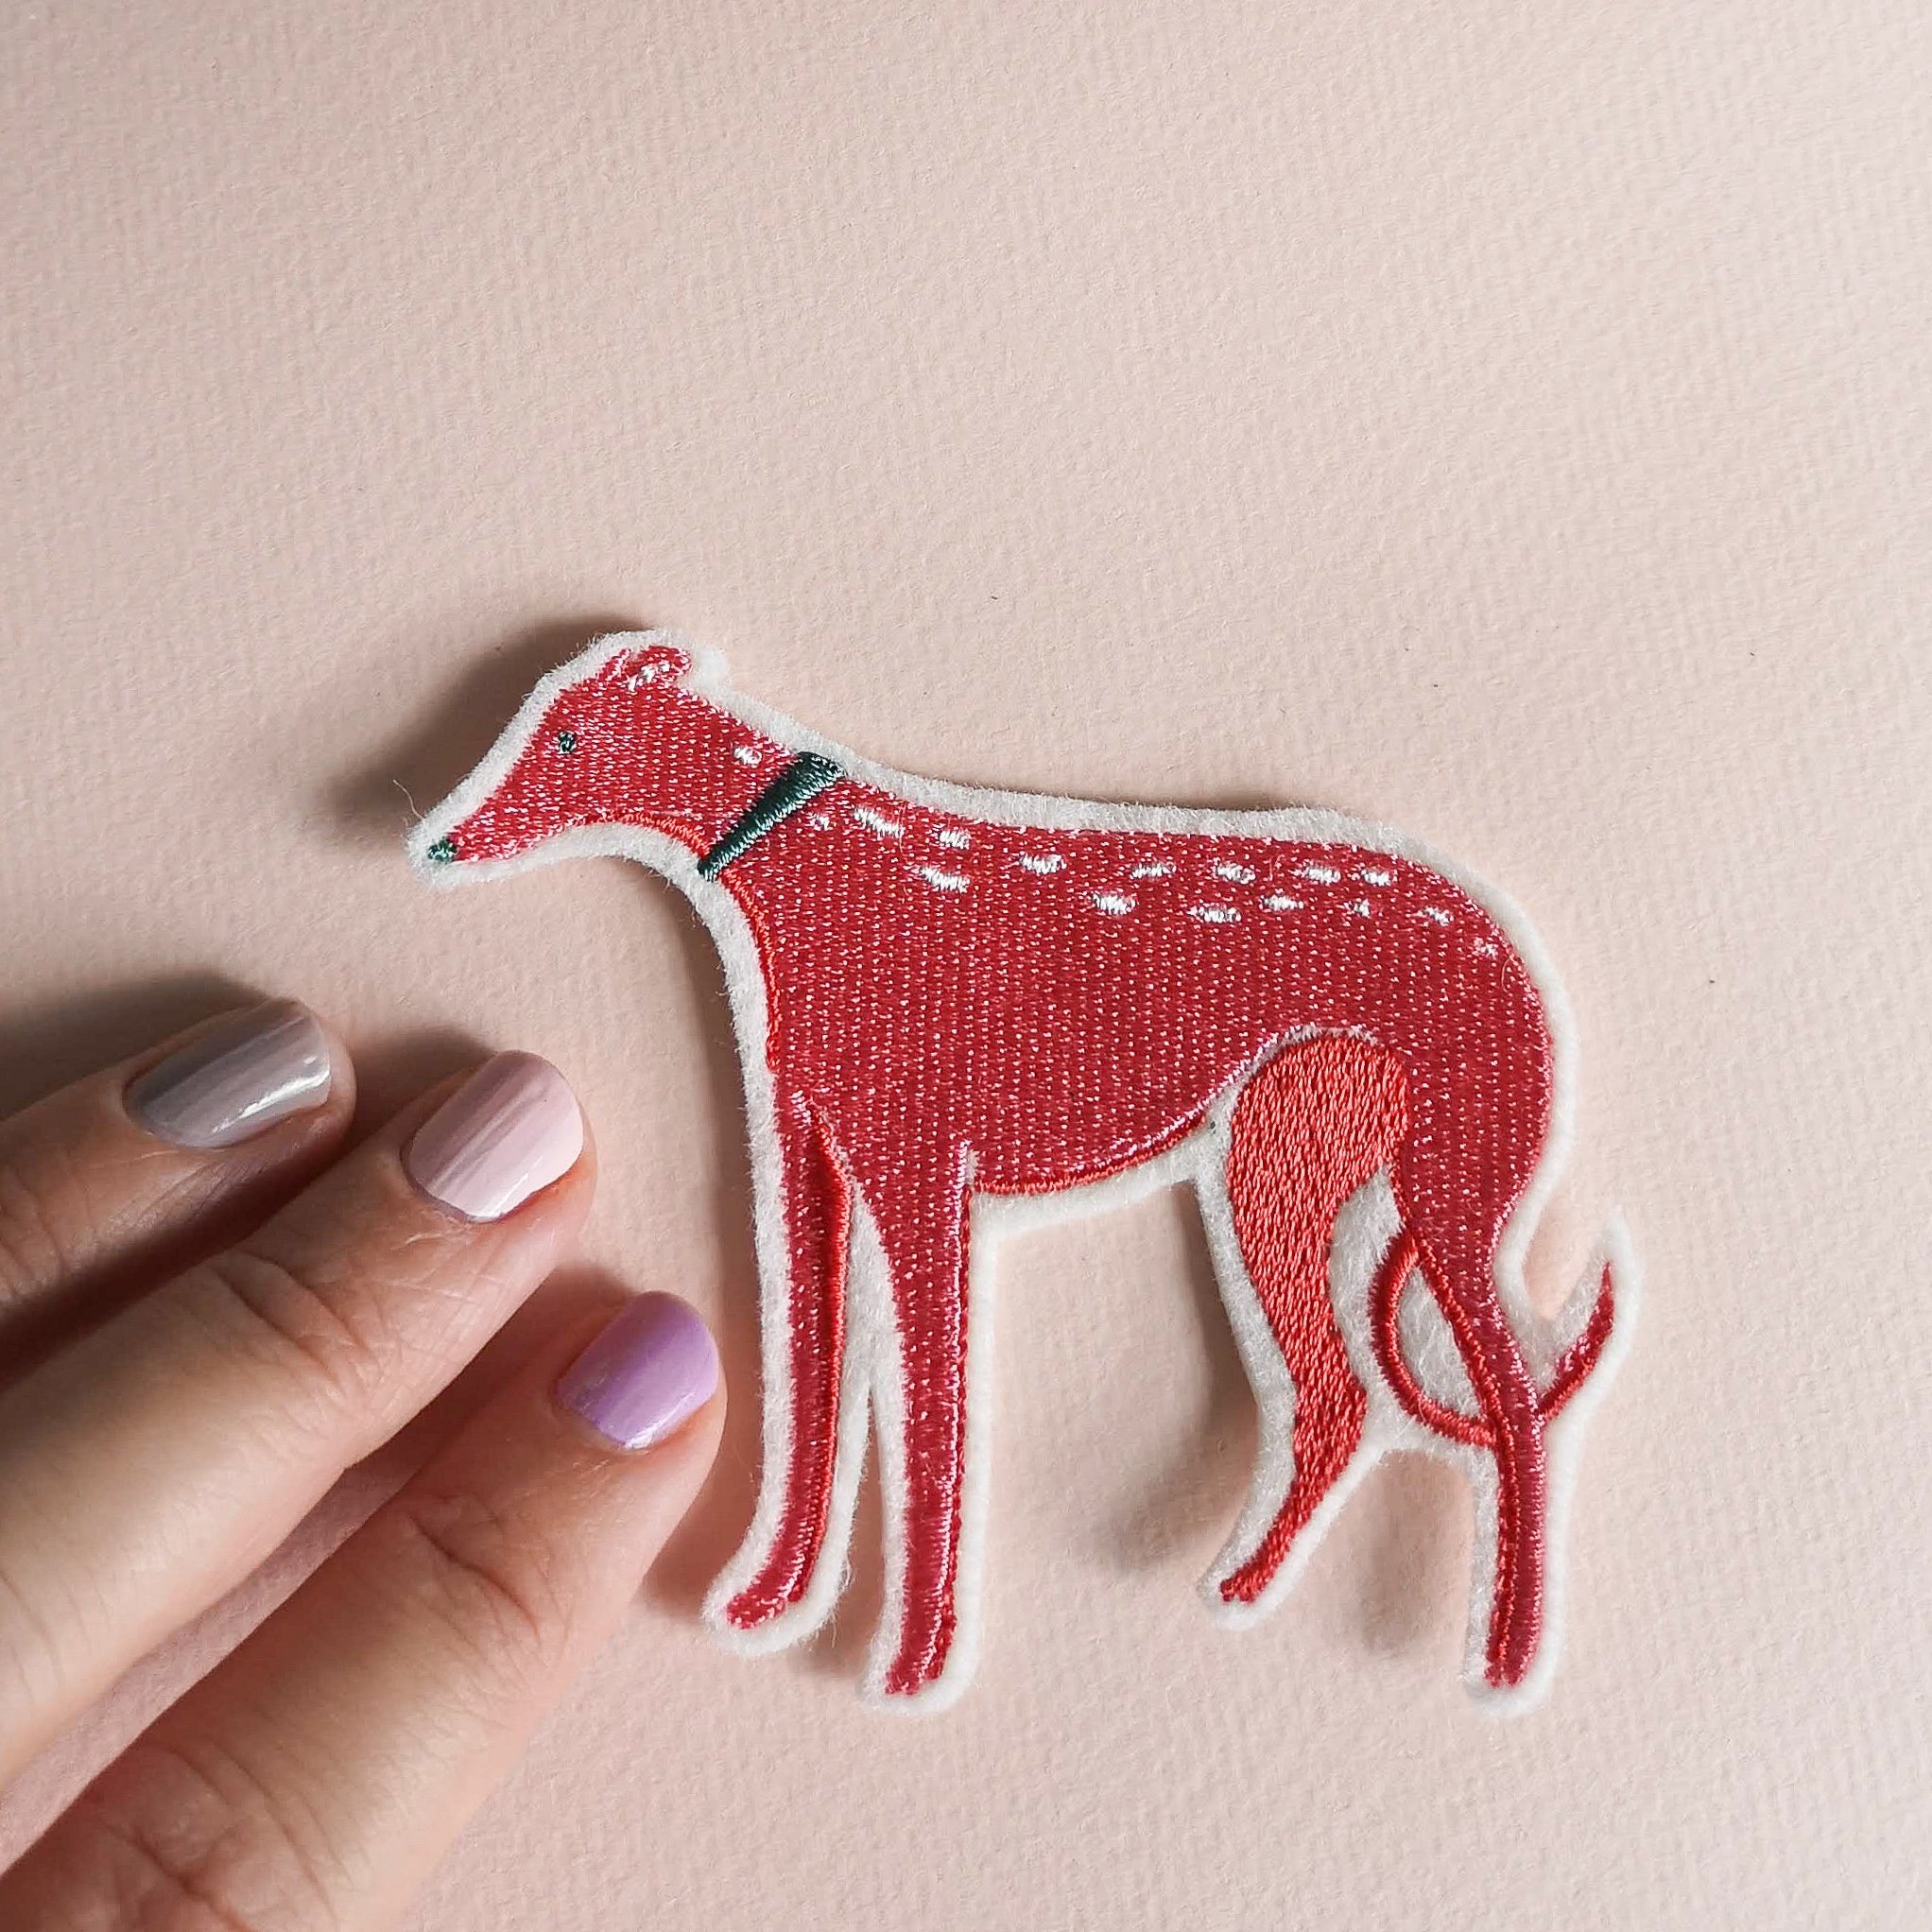
I have started my embroidered patch collection with two of my favourite things; greyhounds and gherkins! I couldn’t think of a better starting point. What I love about patches is that they can add a bit of life to an existing item or be used to cover up damaged or stained areas. Apply them to backpacks, jackets, outdoor equipment etc. They really add to the story of an object, I have big plans to add these guys to a very old Fjallraven Kanken that is in need of a bit of TLC.
The patches are like mini works of art, they are beautifully detailed and stitched to perfection. I am so proud that they are made in the UK by two female led micro businesses, Paper Cutts and myself. Produced in small batches in Southsea by my favourite embroidery lady, Gemma Cutts. I love that they are made on a small scale and not mass produced in a factory.
Each patch comes with instructions on how to apply them. I recommend ironing as per the instructions and also sewing them down for that extra security.
Method 1- Iron on
Iron on- easy peasy. Always cover with a tea towel or cloth and be really careful with low iron fabrics. Make sure that the fusible back has really fixed to the background fabric and that no edges can be lifted.
Method 2- Hand stitch
Iron on and hand stitch down- I prefer a slip stitch so that it’s not visible but you might like to do a blanket stitch or a simple tack down style if you’re not too fussed about the stitches being seen.
Method 3- Machine stitch
For a reeeeeally secure patch- machine sew. Match your thread to the felt background and carefully outline the edge of the patch in a machine stitch. Go slowly with confidence and remember- when turning corners keep the needle in the fabric to help you swivvel around corners.


